How to Setup Google Nest Wi-Fi with Existing Router
Introduction
Setting up Google Nest Wi-Fi with your existing router can significantly improve your home network coverage and performance. Google's mesh Wi-Fi system ensures seamless connectivity across your home, eliminating dead zones. In this guide, we'll walk you through the complete process, from understanding the system to troubleshooting common issues. Let's get started!

Understanding Google Nest Wi-Fi
Google Nest Wi-Fi is a mesh Wi-Fi system designed to provide robust, comprehensive coverage for your home network. Unlike traditional routers that may struggle with dead spots or weak signals, Google Nest Wi-Fi uses multiple devices working in tandem to create a blanket of strong Wi-Fi coverage throughout your living space.
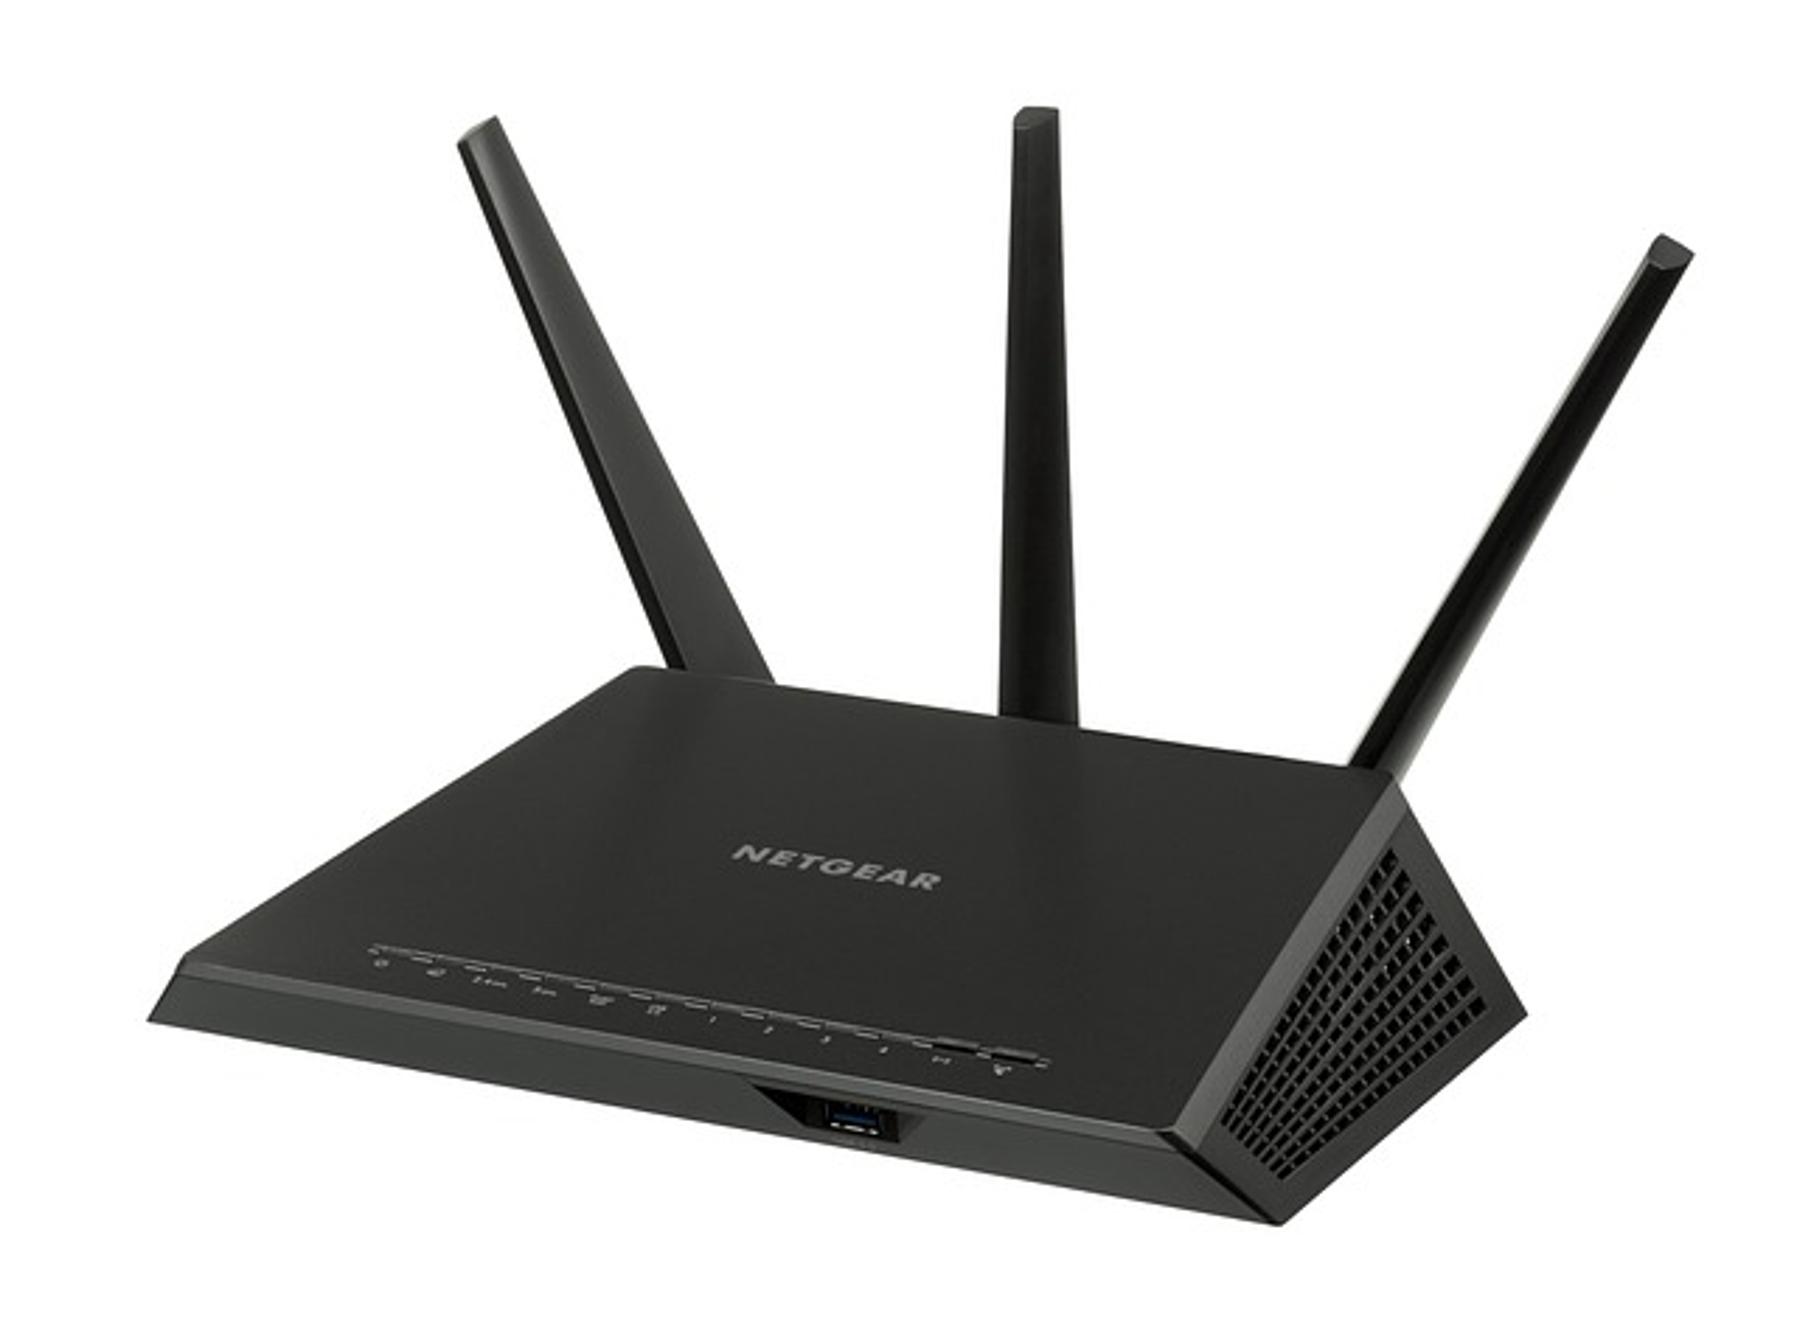
The system typically consists of a primary router (Nest Router) and one or more points (Nest Points). The Nest Router connects directly to your modem, and the Nest Points expand coverage to areas that are hard to reach. These points also double as smart speakers with Google Assistant functionality.
Before diving into the setup, it’s essential to understand that Google Nest Wi-Fi can either replace your existing router or work with it. This guide focuses on the latter option, which involves connecting Google Nest Wi-Fi to your current router, allowing you to leverage its advanced features while maintaining your existing network.
Preparing for the Setup
Before starting the setup process, ensure you have all the necessary components and meet the requirements. Here's a checklist:
- Google Account: Ensure you have an active Google account.
- Google Home App: Download and install the Google Home app from the Play Store (Android) or App Store (iOS).
- Google Nest Wi-Fi Devices: Unbox your Google Nest Wi-Fi router and points.
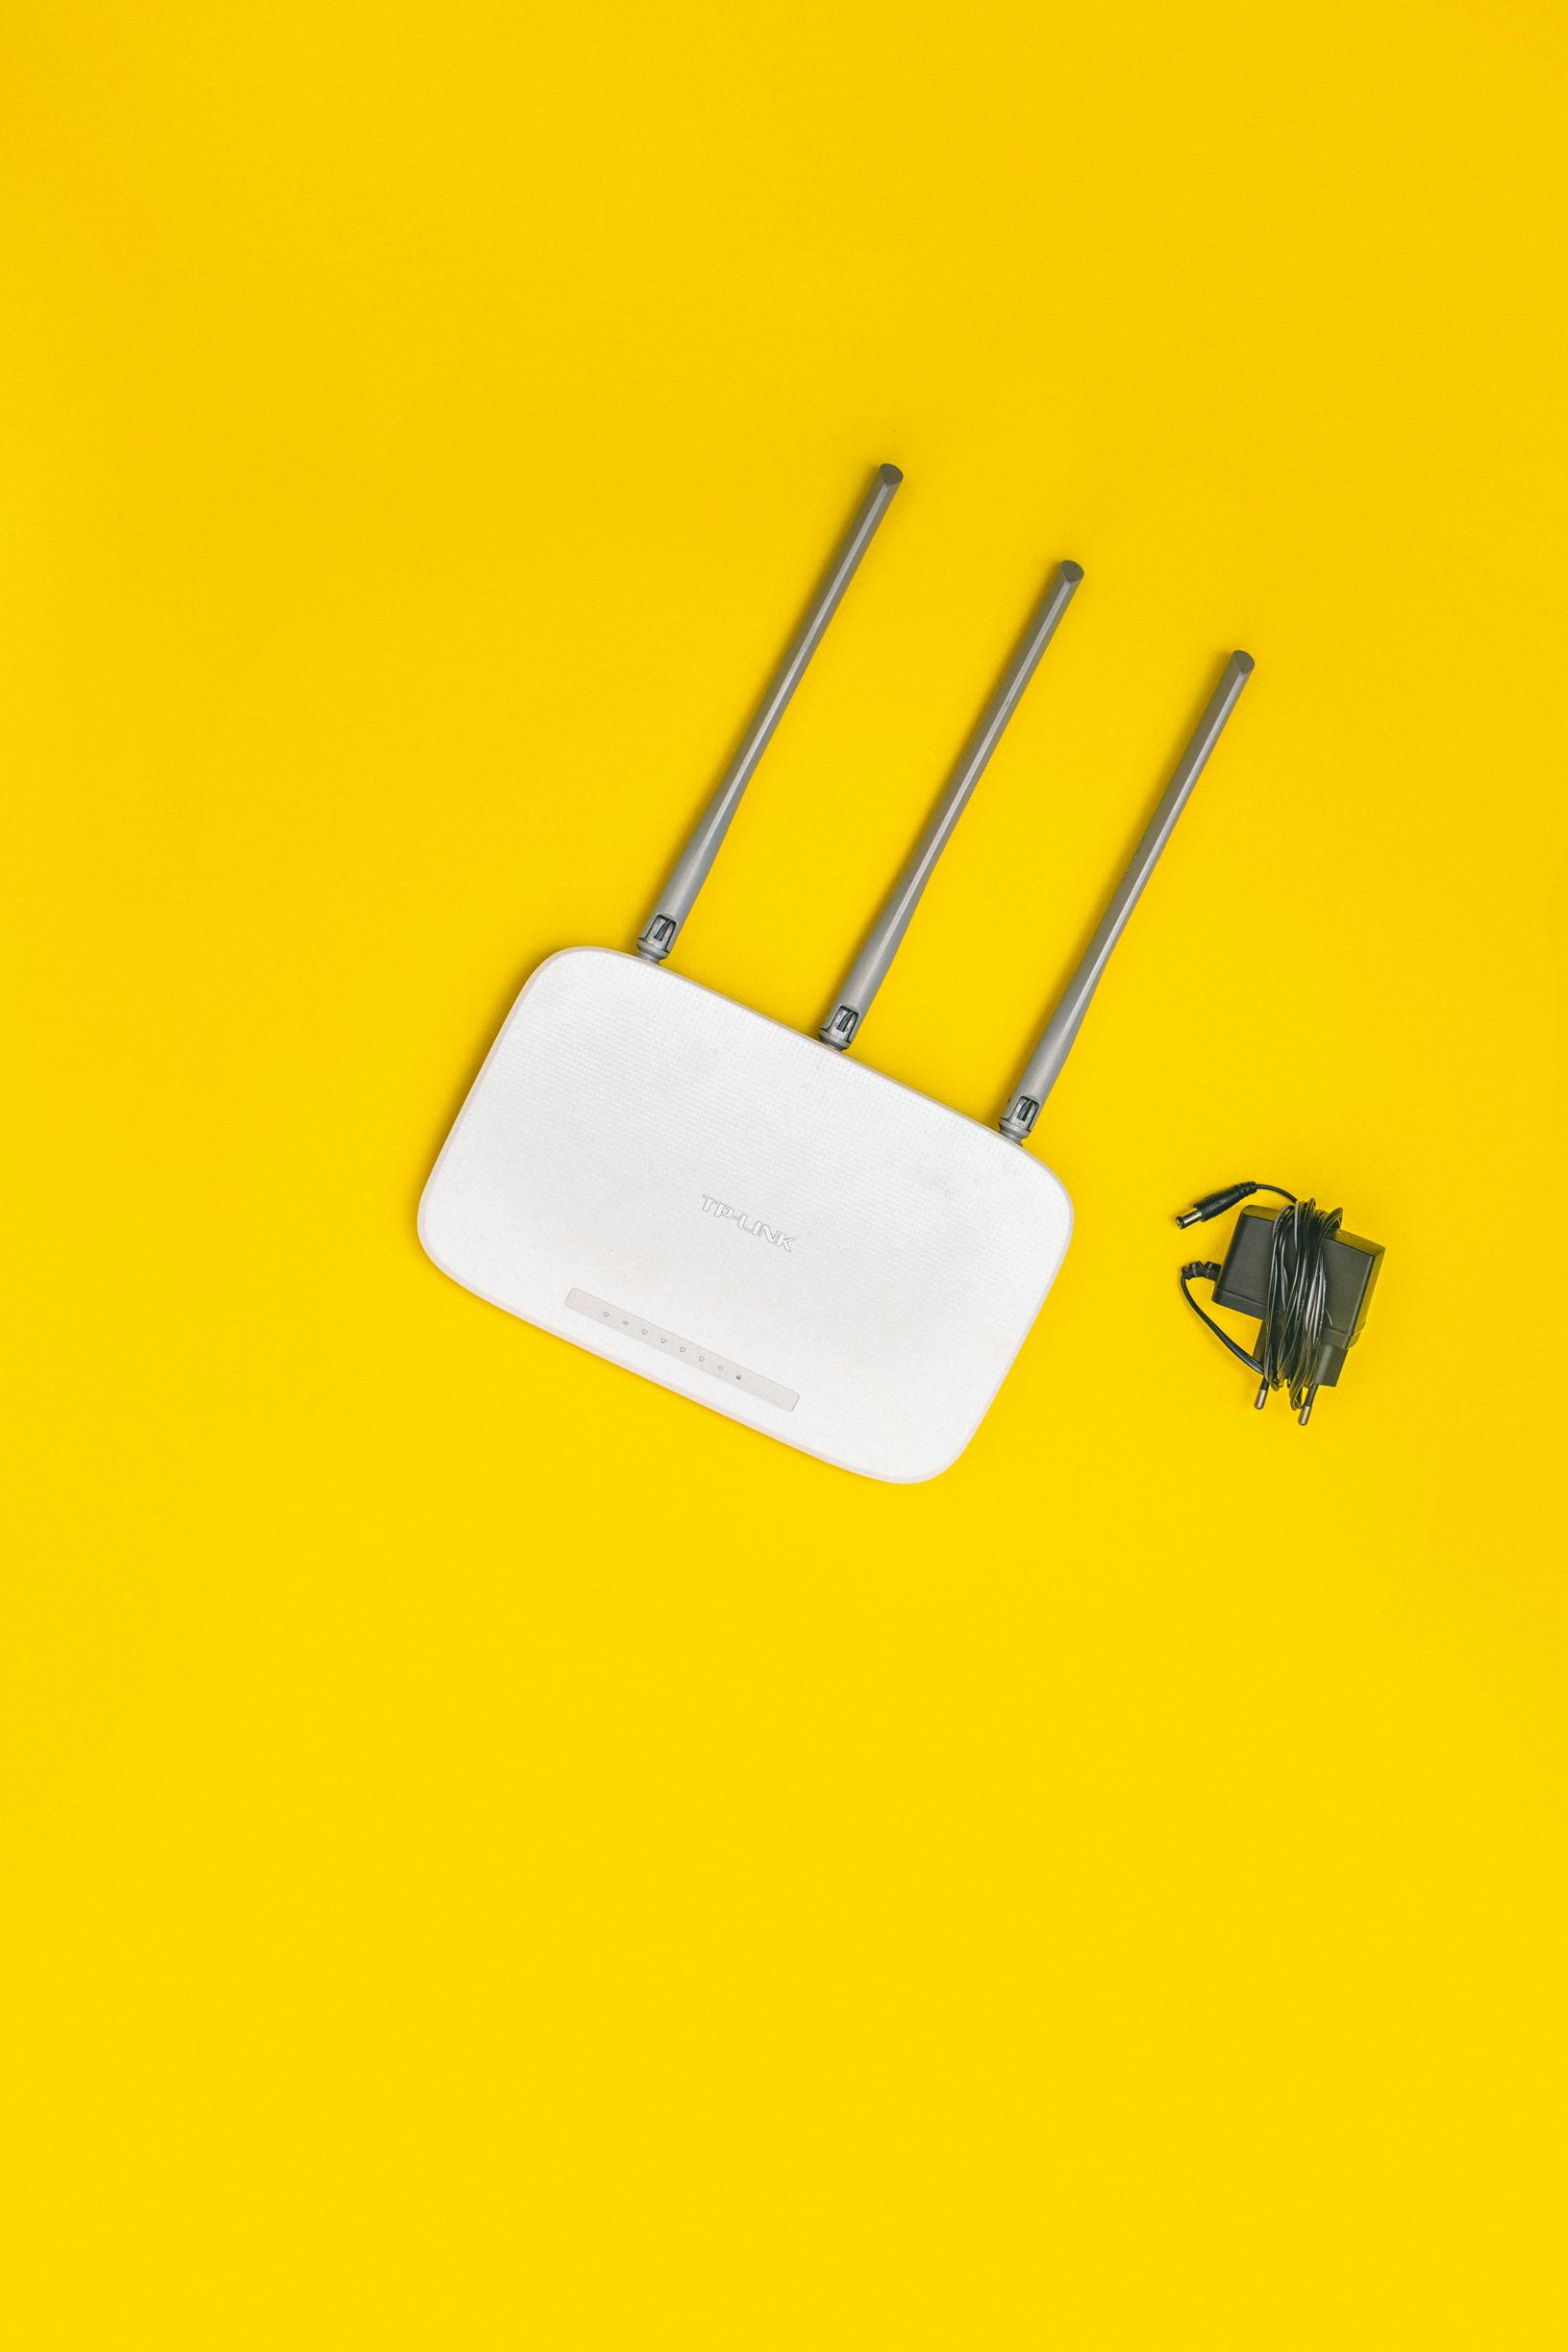
- Existing Router and Modem: Check that your current router and modem are working correctly.
- Ethernet Cable: Have an Ethernet cable ready for the initial connection.
Having these things ready will ensure a smooth setup process. You’re now primed to connect Google Nest Wi-Fi to your existing router.

Connecting Google Nest Wi-Fi to Your Existing Router
Follow these steps to connect Google Nest Wi-Fi to your existing router:
- Turn Off Your Existing Router: Start by turning off your existing router.
- Connect Nest Router to Modem: Use an Ethernet cable to connect the WAN port of your Google Nest Router to the LAN port of your modem. Plug in the power adapter to the Nest Router.
- Turn On the Router: Power up your existing router and the Google Nest Router. Allow a few minutes for both devices to fully boot up.
- Set Up Connection: Open the Google Home app on your smartphone. Follow the in-app instructions to add a new device, and select 'Google Nest Wi-Fi' from the options.
- Select Your Network: During setup, you'll be prompted to choose between creating a new network or using your existing one. Select 'Use existing network.'
- Verify Connection: The app will then confirm the connection between your existing router and the Google Nest Router. If successful, you’re ready to move on to configuring the network.
This straightforward process gets your Google Nest Wi-Fi online and connected to the existing setup. Next, we’ll walk through configuring it for optimal performance.
Configuring Google Nest Wi-Fi with the Google Home App
Once your Google Nest Wi-Fi is connected to your existing router, you need to configure it to ensure everything runs smoothly. Follow these steps:
- Open Google Home App: Launch the Google Home app if it isn't already open.
- Add Device: Tap the '+' icon to add a new device and follow the prompts.
- Set Up Nest Wi-Fi: The app will detect the Google Nest Router and guide you through the setup.
- Create a Network Name: You can either create a new network name (SSID) or keep using your existing one for continuity.
- Secure with Password: Set a strong password for your network.
- Add Wi-Fi Points: Place the Wi-Fi points strategically around your home to ensure optimal coverage. Follow the app's guidance to add these points to your network.
- Run Network Check: Use the Google Home app to run a network check to ensure everything is appropriately connected and there are no dead zones.
This method configures your Google Nest Wi-Fi, providing better coverage and stronger signals in previously under-served parts of your home.

Network Optimization Tips
To get the most out of your Google Nest Wi-Fi setup, consider these optimization tips:
- Strategic Placement: Position your router and points in central locations away from obstructions and electronic interference.
- Regular Updates: Ensure your Google Home app and Nest devices have the latest firmware updates.
- Device Prioritization: Use the app to prioritize bandwidth for specific devices, like your work computer or gaming console.
- Guest Network: Set up a guest network for visitors to keep your main network more secure.
- Network Name Consistency: If you migrated from an old router, using the same network name and password helps reduce the hassle for connected devices.
These tips empower you to fully exploit the capabilities of your new Google Nest Wi-Fi system.
Common Troubleshooting Steps
If you encounter issues, here are some common troubleshooting steps:
- Restart Devices: Power cycle your modem, existing router, and Google Nest Router.
- Check Connections: Verify that all Ethernet cables are securely connected.
- Factory Reset: If problems persist, consider performing a factory reset on the Google Nest Router and starting the setup again.
- Google Home App Assistance: Use the Google Home app’s troubleshooting features to diagnose and resolve issues.
- Check ISP Issues: Sometimes, connectivity problems stem from your Internet Service Provider (ISP). Contact your ISP for support if necessary.
By following these steps, most common issues can be resolved, ensuring your network runs smoothly.
Conclusion
Connecting Google Nest Wi-Fi with an existing router enhances your home’s network by improving coverage and connectivity. By following the steps we've covered, from initial setup to optimization and troubleshooting, you ensure a seamless and robust internet experience throughout your space.
Frequently Asked Questions
Can I use Google Nest Wi-Fi as an extender with my existing router?
Yes, Google Nest Wi-Fi can act as an extender. During setup, choose the option to use it with your existing network.
How do I prioritize devices on my Google Nest Wi-Fi network?
In the Google Home app, go to Wi-Fi settings, select 'Devices,' and then choose the device you want to prioritize for better bandwidth allocation.
What should I do if my Google Nest Wi-Fi is not connecting to my router?
Ensure all cables are connected correctly, restart your devices, and follow the factory reset procedure if necessary. The Google Home app's troubleshooting features can also help.


