Mastering a DSLR camera can transform your photography from average to exceptional. Whether you're capturing family moments, travel adventures, or exploring creative photography, understanding how to operate your DSLR is crucial. This guide will walk you through the essential components, settings, and techniques needed to use your DSLR effectively.
Before diving into techniques, familiarizing yourself with your camera's essential components and basic settings is crucial.
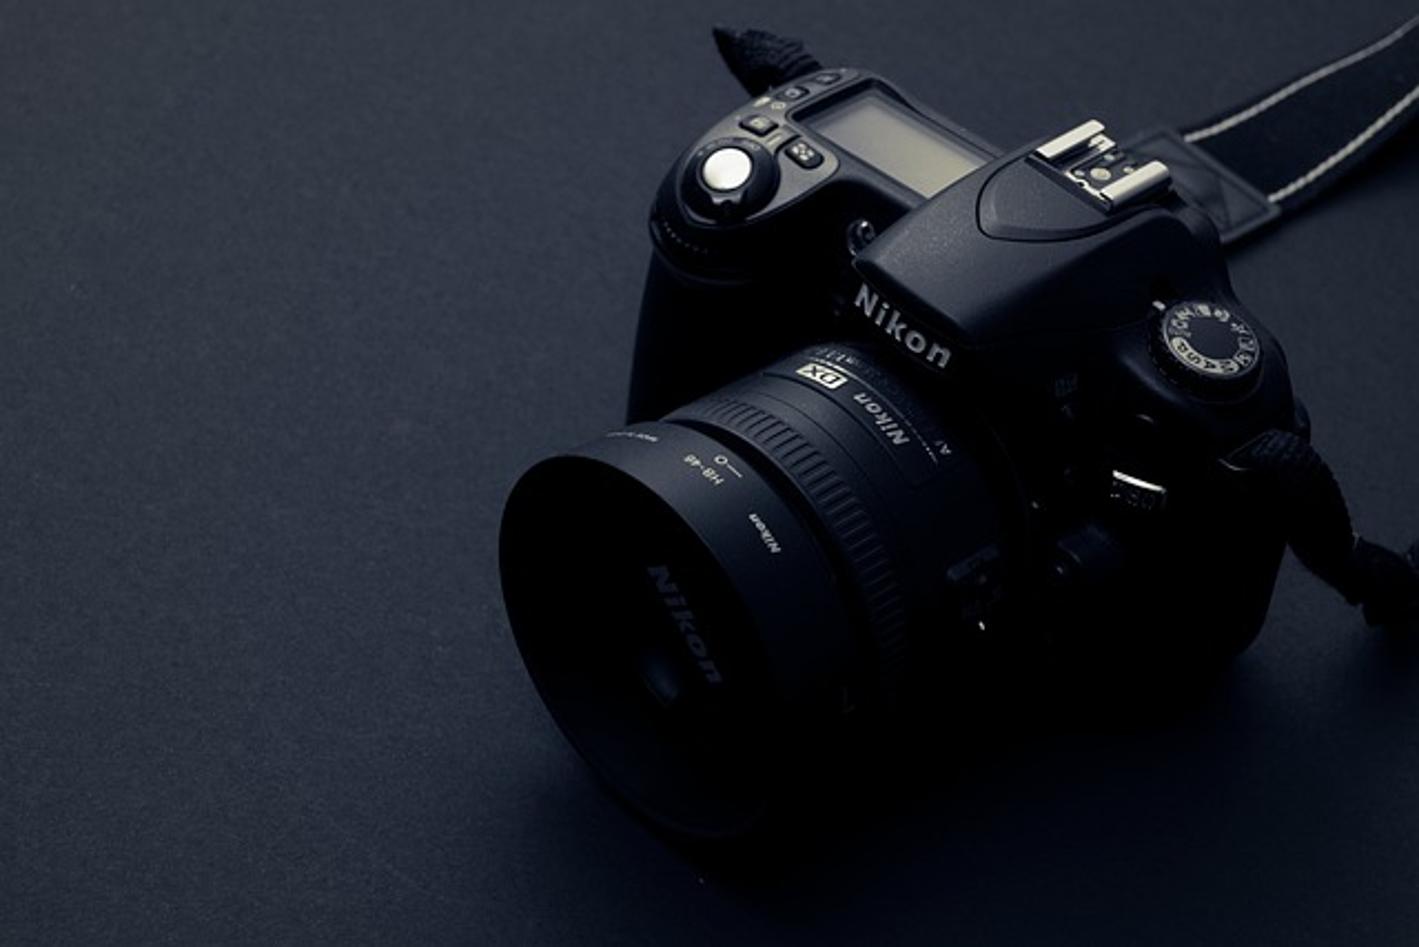
A DSLR camera comprises several key parts: - Lens: The detachable lens that captures light from the subject. - Viewfinder: Allows you to frame and focus on your subject. - Sensor: Captures the image, determining the resolution and quality. - Controls: Buttons and dials for adjusting settings like ISO, aperture, and shutter speed.
Getting started involves understanding these basic settings: - Mode Dial: Switch between automatic, semi-automatic, and manual modes. - ISO: Adjusts the camera's sensitivity to light. - Aperture: Controls the depth of field. - Shutter Speed: Determines how motion is captured.
The exposure triangle is foundational to controlling how much light enters your camera, affecting the overall outcome of your photos.
Aperture, measured in f-stops, affects how much light enters the camera: - Wide Aperture (f/1.4 - f/2.8): More light, shallow depth of field, great for portraits. - Narrow Aperture (f/8 and above): Less light, deeper depth of field, ideal for landscapes.
Shutter speed is how long the camera's sensor is exposed to light: - Fast Shutter Speed (1/500s and faster): Freezes motion, perfect for action shots. - Slow Shutter Speed (1/30s and slower): Blurs motion, works well for creative effects or low light.
ISO controls the camera's sensitivity to light: - Low ISO (100-400): Less sensitivity, better for well-lit conditions. - High ISO (800 and above): More sensitivity, useful in low light but may increase noise.
Each DSLR offers various modes to suit different shooting conditions.
Automatic Mode handles all settings, allowing you to focus solely on framing and shooting. While convenient, it offers less creative control.
In Aperture Priority Mode, you set the aperture while the camera selects the shutter speed. This mode is ideal for controlling depth of field.
Shutter Priority Mode lets you choose the shutter speed while the camera adjusts the aperture. This is perfect for capturing motion.
Manual Mode offers full control over aperture, shutter speed, and ISO. This mode is ideal for experienced photographers seeking complete creative freedom.

Achieving sharp, well-focused images is key to professional-quality photos.
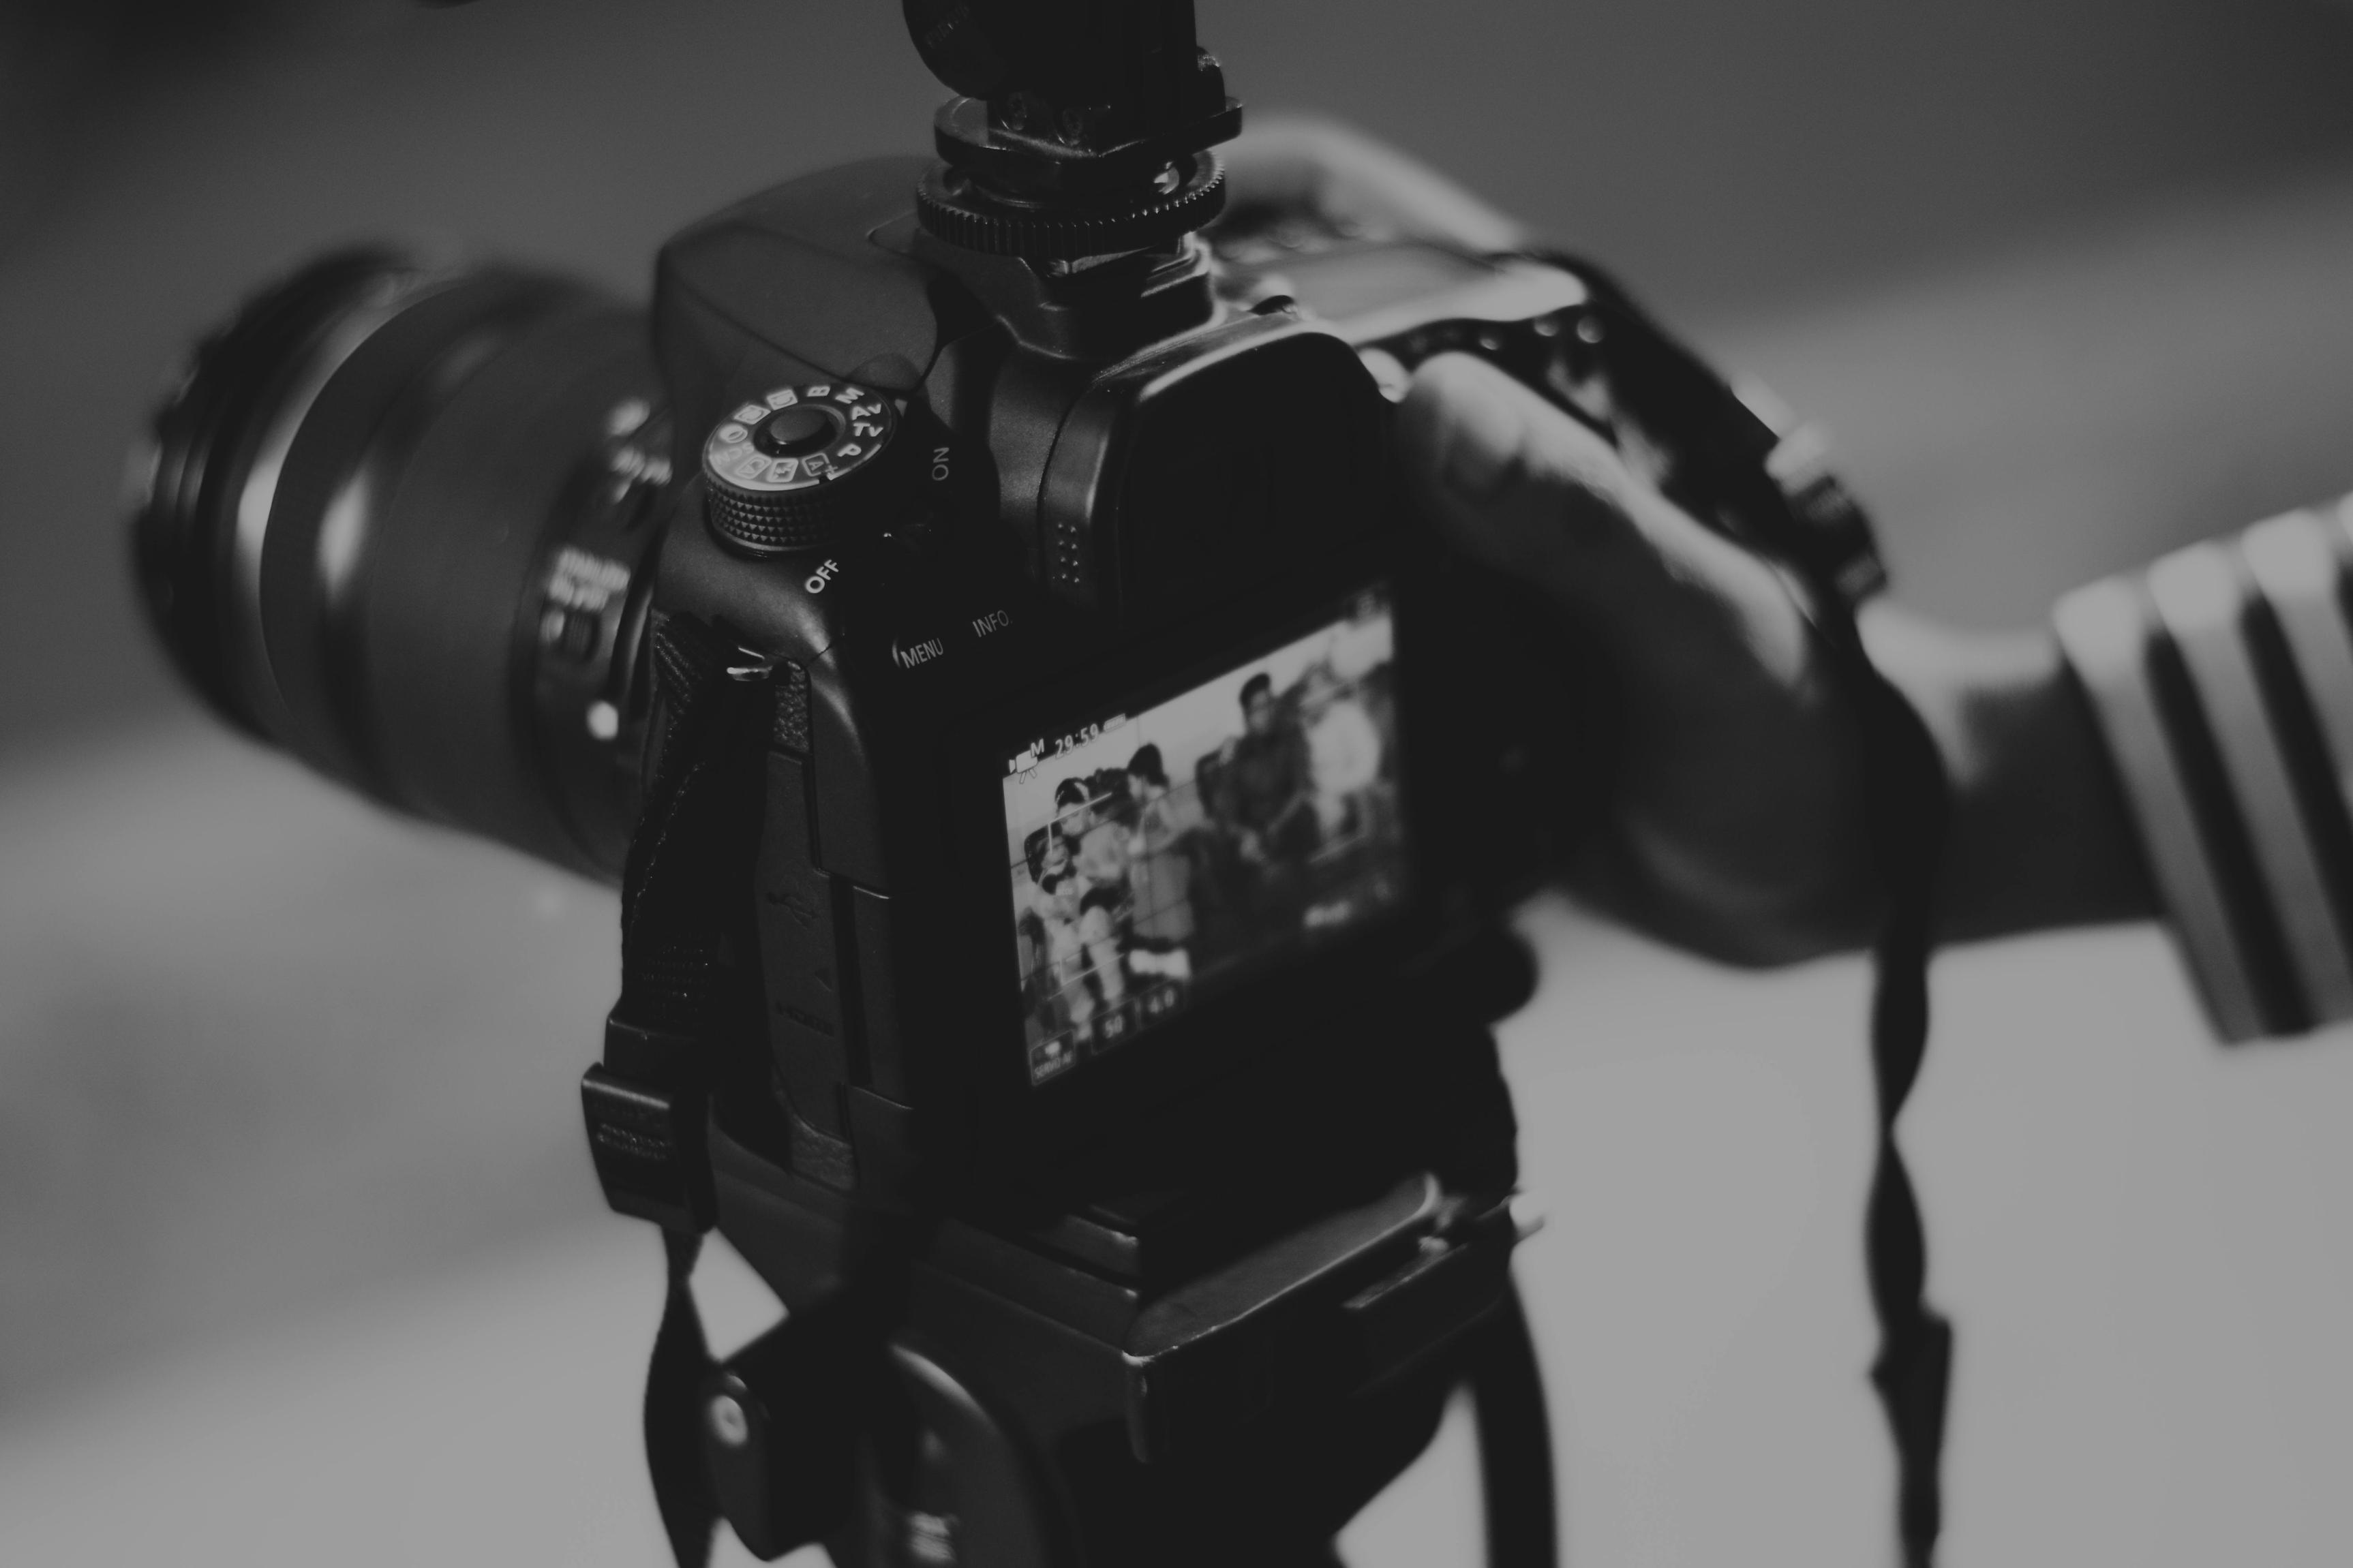
Modern DSLRs allow you to choose focus points, determining where the camera focuses. Use the center point for general shots or select specific points for more precise focusing.
Lighting dramatically impacts the quality and mood of your photos.
Natural light varies throughout the day: - Golden Hour: Soft, warm light after sunrise and before sunset, ideal for portraits and landscapes. - Midday Sun: Harsh, direct light that can create strong shadows, often avoided in portraits.
The built-in flash can be useful in low-light conditions but often produces harsh lighting. It's best for close-up shots or as a fill light.
External lighting options like speedlights or softboxes provide more control: - Speedlights: Small, portable flashes that can be attached to your camera or used off-camera. - Softboxes: Diffuse light to reduce harsh shadows, useful for portraits and studio setups.
Great composition can make an ordinary photo extraordinary.
Imagining your frame divided into nine equal parts using two horizontal and two vertical lines. Place key elements along these lines or at their intersections for balanced and visually appealing photos.
Use natural lines in your environment, like roads or bridges, to guide viewers’ eyes toward the subject of your photo.
Use natural elements to frame your subject and experiment with different angles and perspectives to add depth and interest.
Even the best photos can benefit from post-processing.
Editing helps enhance colors, correct exposure issues, and crop photos for better composition.
Free and paid editing software to consider: - Adobe Lightroom: Popular among photographers for its versatility. - GIMP: A free, open-source alternative for basic editing. - Photoshop: Advanced editing capabilities for detailed adjustments.
Mastering your DSLR camera involves practice and experimentations. By understanding the key components, settings, exposure, focusing techniques, lighting, composition rules, and post-processing basics, you'll be well-equipped to capture stunning photos.
Starting with Aperture Priority Mode (A/Av) is recommended as it allows you to control the depth of field while the camera selects the appropriate shutter speed.
To avoid blurry pictures, ensure proper focus, use a fast shutter speed for moving subjects, and stabilize your camera with a tripod.
Shooting in RAW offers more flexibility in post-processing, but JPEG files are smaller and more convenient for immediate use. Choose based on your needs and editing preferences.