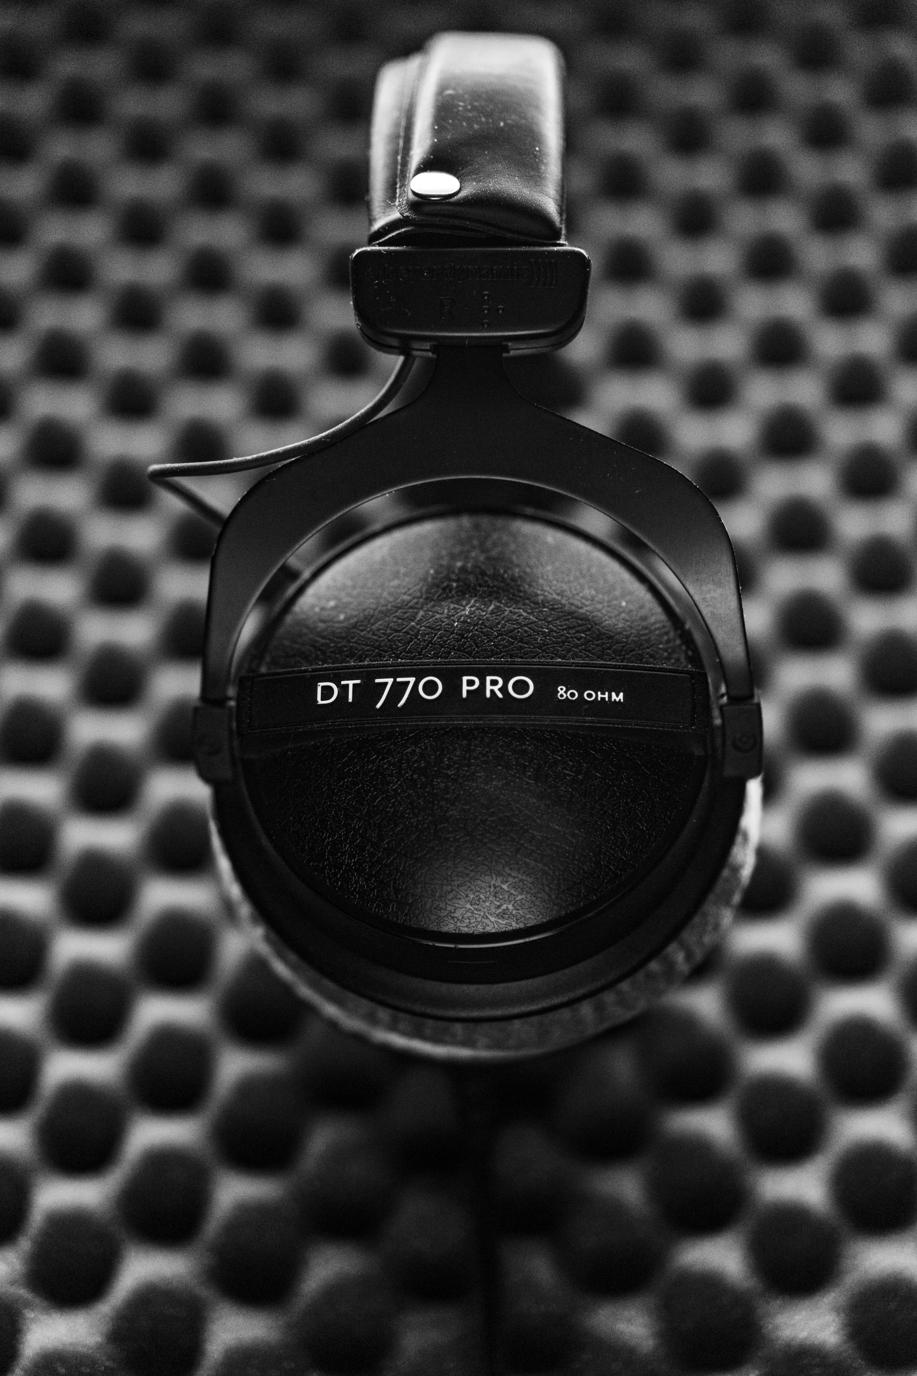
Enhancing the noise-canceling capabilities of your headphones involves understanding and leveraging the power of materials like foam. Many audiophiles and regular users desire a more immersive auditory experience, free from external distractions. Foam, a versatile and affordable material, can significantly improve passive noise cancelation. This guide will walk you through the steps to make your headphones more noise canceling using foam, ensuring a serene listening ambiance.

Noise cancelation technology can be divided into two main categories: active and passive. Active noise cancelation (ANC) uses microphones and electronic circuitry to create sound waves that counteract ambient noise. On the other hand, passive noise cancelation relies on physical barriers to block out sound. This is where foam comes into play, providing insulation to reduce external noise.
Foam plays a crucial role in passive noise cancelation by acting as a barrier that absorbs and blocks sound waves. The right type of foam can enhance the sealing effect around your ears, minimizing sound leakage and preventing outside noise from entering. Utilizing foam can make even the simplest headphones perform like high-end noise-canceling models.

Choosing the right foam is essential for effective noise cancelation and comfort. Understanding the different types of foam and their key features helps in making the best decision.
Various types of foam can be used for noise cancelation, each with its unique properties:
Selecting the ideal foam involves considering several key features:
When choosing foam inserts, balance these features to meet your needs for comfort and effectiveness.
Before diving into the installation of foam inserts, some preparation steps are necessary to ensure a smooth process and optimal results.
Gather the following tools and materials for the installation process:
To add foam inserts, you'll need to disassemble your headphones safely:
Taking these preparatory steps ensures a smooth installation process and better results.
Now that your headphones are prepared, you can proceed with installing foam inserts for enhanced noise cancelation.
Crafting foam inserts involves precise measurements and cutting:
Attaching the foam inserts to the ear cups requires careful application:
Following these steps lets you maximize the noise-canceling benefits of your headphones.
To achieve the best noise isolation, you might consider combining foam with other materials and following some maintenance tips.
For optimal noise isolation, consider combining foam with other materials:
Maintaining your foam inserts ensures longevity and consistent performance:
Proper maintenance keeps your headphones in top condition and maintains optimal noise cancelation.
Incorporating foam into your headphones can significantly enhance noise cancelation. By understanding the importance of foam, selecting the right type, and following proper installation steps, you can create a more immersive listening environment. Don't overlook regular maintenance to ensure your headphones maintain their performance over time.
Not all foam types are effective for noise cancelation. Acoustic foam, memory foam, and melamine foam are recommended for their superior sound insulation properties.
Foam inserts typically last between 6-12 months. Regularly inspect them for wear and replace them as needed to maintain optimal performance.
If you still hear noise after adding foam, consider additional measures like improving the ear cup seal or combining foam with other noise-canceling materials such as velour covers or rubber gaskets.