MacBook Pro Dual Monitor Setup: A Comprehensive Guide
Introduction
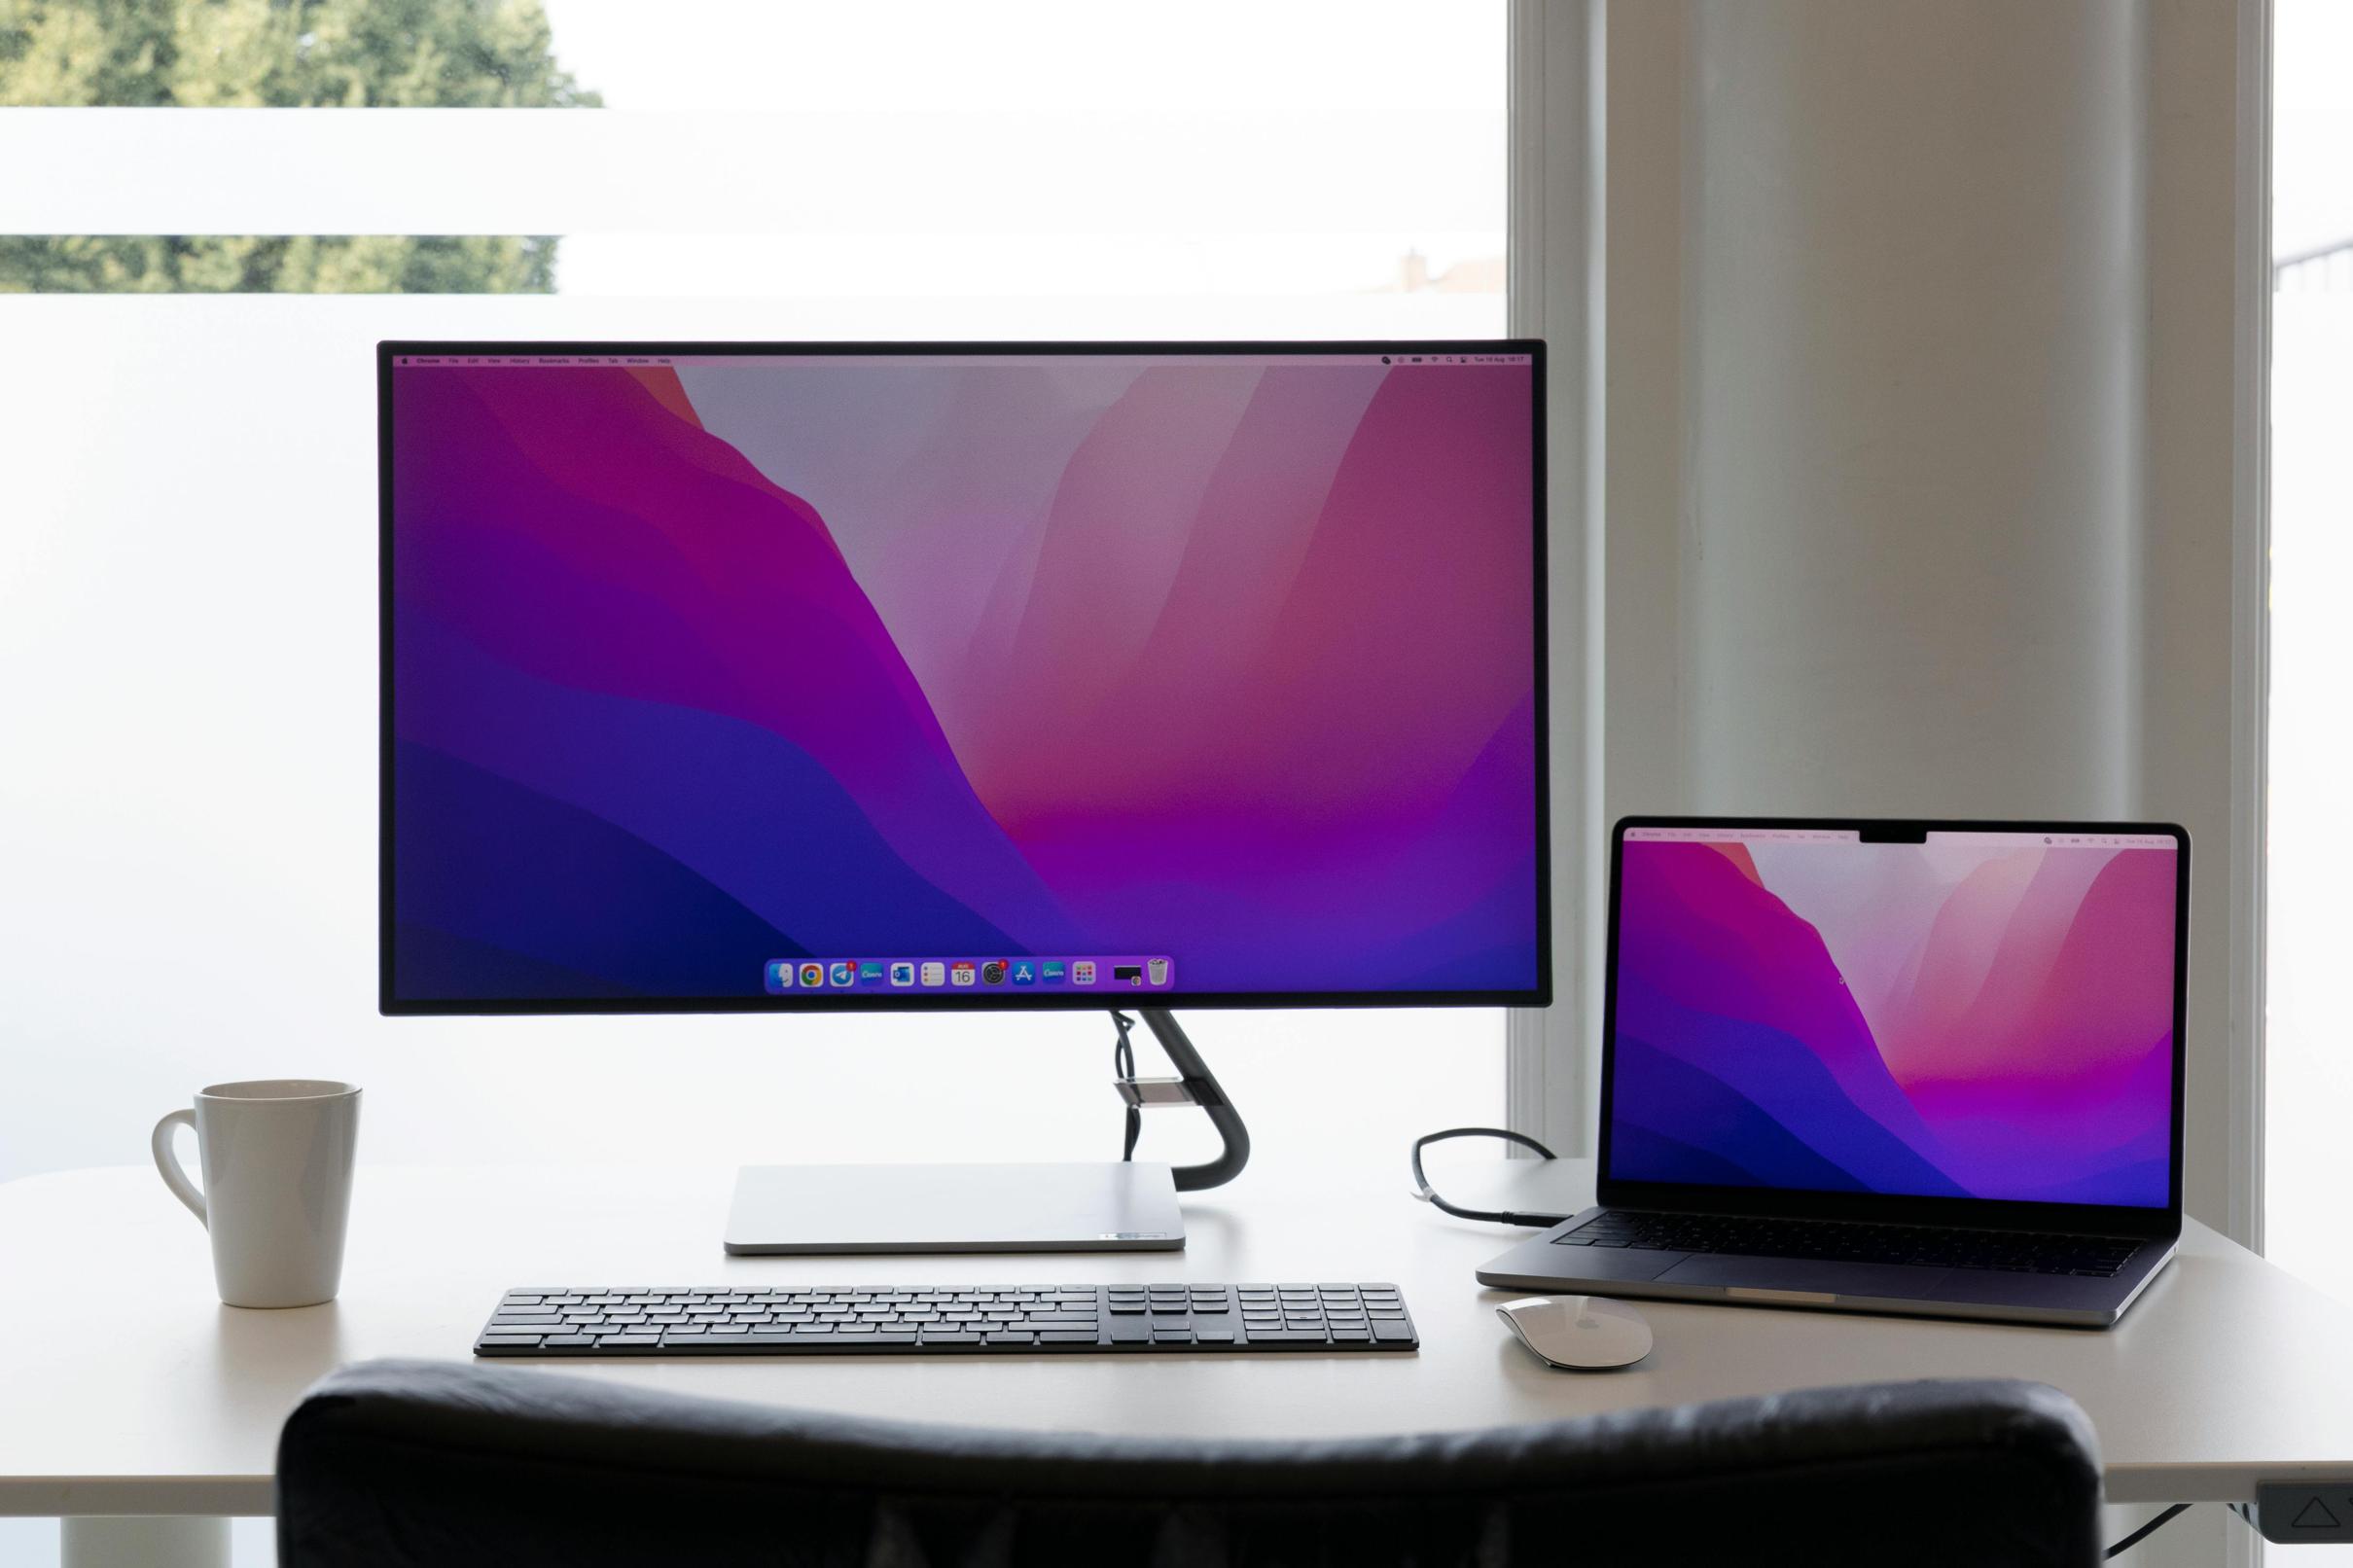
Setting up a dual monitor configuration with your MacBook Pro can supercharge your productivity. This guide will walk you through the necessary steps, from choosing compatible monitors and hardware to configuring your settings in macOS. Whether you're a professional or a casual user, transforming your workstation with an additional display enhances both work efficiency and workflow fluidity.

Why Use a Dual Monitor Setup?
A dual monitor setup offers significant benefits, especially for multitasking. When you extend your MacBook Pro's display to a second monitor, you can easily drag and drop applications between screens, compare documents side by side, or enjoy an expanded workspace for creative tasks such as video editing or graphic design. It also helps reduce task-switching time, allowing you to keep vital information readily visible without minimizing or shuffling through windows.
This can eliminate the frustration of limited screen real estate and enable a more comfortable, efficient, and organized workstation, boosting both productivity and eye comfort.

Requirements and Compatibility
To set up a dual monitor with your MacBook Pro, you must ensure compatibility of both hardware and software:
- MacBook Pro Model: Most modern MacBook Pros support dual monitors, but it's essential to verify your specific model's capabilities.
- Monitors: Choose monitors that feature HDMI, DisplayPort, or USB-C connections. Verify their resolution and refresh rates.
- Adapters and Cables: Depending on your MacBook Pro's ports, you may need adapters or specific cables. For instance, a USB-C to HDMI adapter or a USB-C to DisplayPort cable.
- macOS Version: Make sure your macOS is up-to-date to support dual monitor configurations.
Ensuring these requirements will pave the way for a smooth setup process and optimal performance.
Setting Up Your Monitors
Connecting the Hardware
- Identify the Ports: Review the available ports on your MacBook Pro and monitors. The latest MacBook Pros typically come with Thunderbolt 3 (USB-C) ports.
- Use Adapters: If necessary, connect the appropriate adapter to your MacBook Pro.
- Connect Cables: Plug one end of the cable into the adapter or directly into your MacBook Pro, and the other end into the monitor.
- Power On Monitors: Turn on your external monitors and ensure they are set to the correct input source.
Configuring Display Settings in macOS
- Open System Preferences: Go to 'System Preferences' > 'Displays.'
- Arrangement Tab: Under the 'Arrangement' tab, you’ll see representations of your displays. Drag them to reflect their physical arrangement.
- Resolution Settings: Adjust resolutions by selecting native options for each display or scaling as needed.
- Primary Display: Drag the white menu bar in the arrangement diagram to the display you want as the primary monitor.
Using External Monitors with Closed Lid
- Plug In Power Adapter: Ensure your MacBook Pro is connected to a power source.
- External Keyboard and Mouse: Use Bluetooth or USB-C connections for input peripherals.
- Close the Lid: Your MacBook Pro will automatically switch the primary display to the external monitor.
Optimizing Your Workstation
Your dual monitor setup is functional but not yet optimized. Fine-tune it for maximum efficiency and comfort.
Adjusting Display Resolution and Scaling
- High Resolution: Use the highest resolution supported by your monitor for sharp images and texts.
- Scaling Options: Choose the appropriate display scaling to make icons and text readable. Go to 'System Preferences' > 'Displays' > 'Display' tab.
Ergonomic Monitor Positioning
- Height and Distance: Ensure your monitors are at eye level and 20-30 inches away from your face to avoid strain.
- Angle and Orientation: Tilt the monitors slightly upward and angle them comfortably within your peripheral view.

Troubleshooting Common Issues
Encountering common issues is normal, but they can be resolved efficiently.
No Signal/Black Screen Problems
- Check Connections: Verify that cables are securely connected and that the monitor is set to the correct input source.
- Reset Monitors: Turn off and then back on your monitors.
- Restart MacBook Pro: Sometimes, a simple restart can reset display settings.
Resolution and Refresh Rate Discrepancies
- System Preferences: Go to 'System Preferences' > 'Displays' and choose the correct resolution and refresh rate manually.
- Update macOS: Ensure you are using the latest macOS version, as this may fix compatibility issues.
- Graphics Driver Updates: Occasionally, updates may be necessary for optimal performance.
Advanced Tips for Better Productivity
Enhance your dual monitor setup with advanced strategies and tools.
Useful Third-Party Apps
- Magnet: For easy window management and snapping.
- DisplayLink: For more robust support with USB monitors.
macOS Features to Enhance Workflow
- Spaces: Use virtual desktops to organize different tasks across multiple screens.
- Split View: Run two apps side by side on one monitor for parallel work.
Conclusion
Upgrading your workstation with a dual monitor setup for your MacBook Pro can significantly enhance your productivity and workflow. By following the steps and tips in this guide, you’ll be able to create a well-optimized, efficient, and comfortable working environment.
Frequently Asked Questions
Can I use two different monitors with my MacBook Pro?
Yes, you can. Most modern MacBook Pros support a variety of monitors, allowing you to mix and match different models and brands. Ensure all monitors are compatible with macOS and your MacBook Pro.
What adapters do I need for dual monitors?
Depending on the ports available on your MacBook Pro, you may need USB-C to HDMI, USB-C to DisplayPort, or Thunderbolt 3 adapters. Check your monitor's inputs to choose the right adapter.
How do I arrange displays in macOS settings?
Go to 'System Preferences' > 'Displays' > 'Arrangement' tab. From there, drag and drop the display icons to match your real-life monitor arrangement. This includes positioning to the left, right, top, or bottom of your MacBook Pro screen.


